Frank
Frank was built alongside George to gain experience building model rockets.

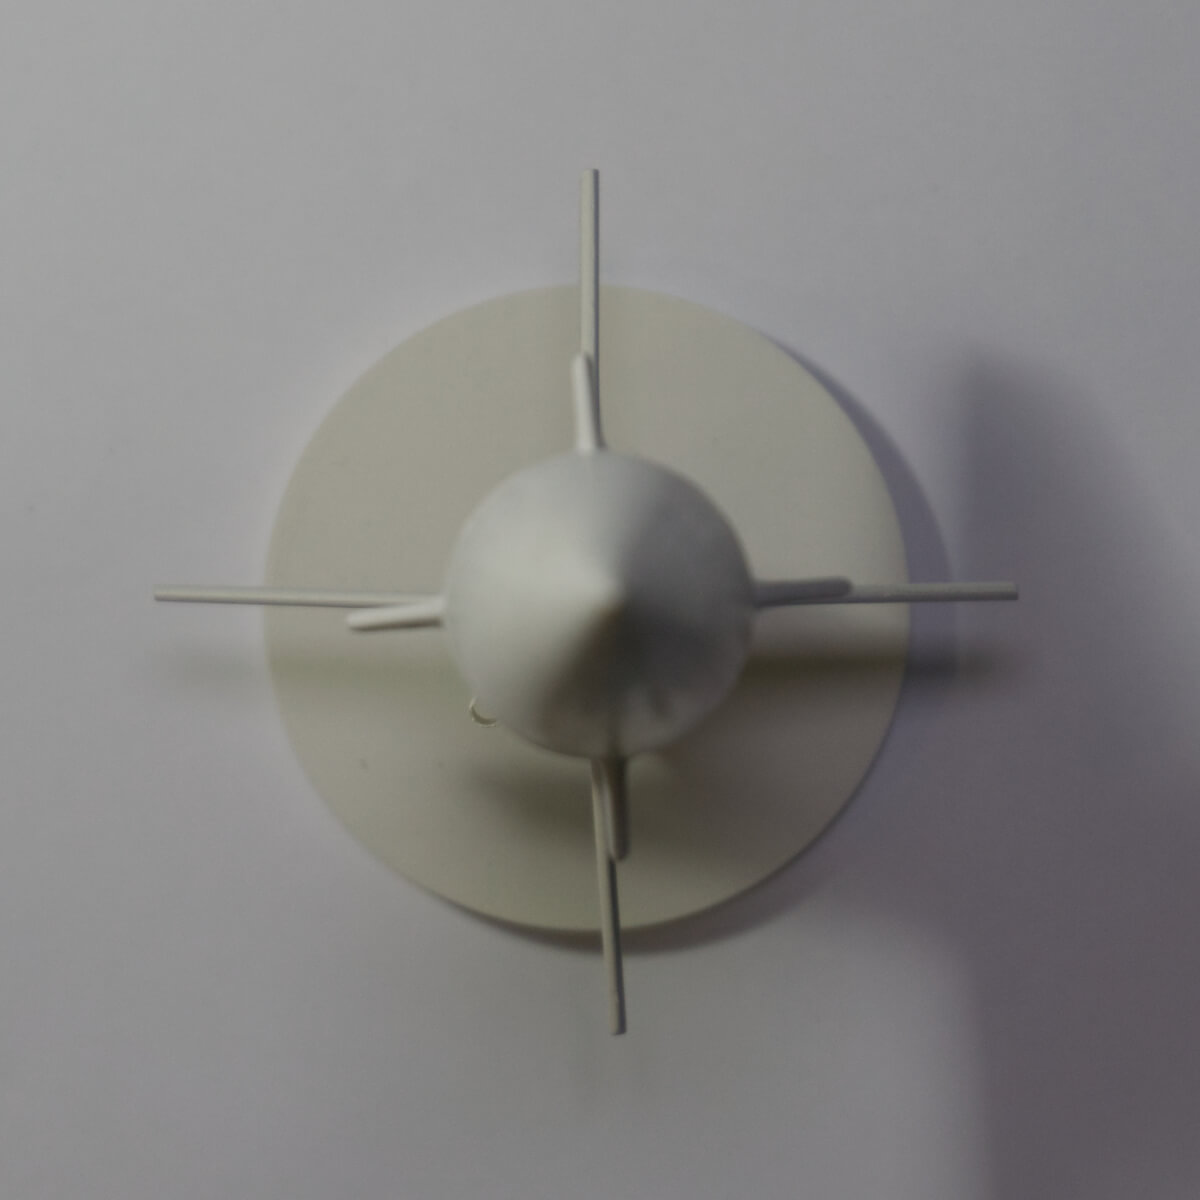
Frank, relaxing on the desert floor after its first flight. The motor is conspicuously absent (more on that later).
Description
Frank is an Estes Bull Pup 12D kit intended for use with 18 mm A, B, and C motors. The kit is based on, though not a true-to-scale model of, the AGM-12 Bullpup air-to-ground missile. The prototype missile proved to be much less accurate than desired and was taken out of service after 11 years.
The kit was purchased from Amazon for $16.51, including sales tax and shipping. Aside from glue, sandpaper, and primer, there were no additional costs incurred during assembly.
As with George, the name Frank was the result of a hasty decision made on launch day when I discovered that I would have to choose a name for each of the two rockets I would be launching. I couldn’t think of anything particularly clever, and chose the first two names that came to mind.
Details
- Height: 39.4 cm
- Body Diameter: 3.37 cm (1.33 in)
- 4 forward fins, 4 aft fins
- Width with Fins: 12.2 cm
- 1 stage
- Paint: 1 coat white primer, lightly sanded
- 1/8" launch lug
- Hexagonal parachute with side length 18.6 cm (36.8 cm diameter at widest extent, 22 cm at most narrow). Single 5.7 cm diameter hole in the middle. Total surface area is 797 cm2.
Construction
Frank was built during June and August of 2022. No significant modifications were made to the kit, though - in hindsight - I can think of at least one modification that should have been made (more on that later).
All eight fins were first sanded on their lateral surfaces, then the leading edges were sanded to a roughly circular profile. The trailing edges were left blunt. Fin placement was accomplished with the aid of the fin guide provided with the kit. First, two sets of marks were made on the body tube in pencil, one forward and one aft. Then the marks were connected by placing the body tube up against a doorjamb and using it as a straightedge against which to make a pencil mark. The fins were then given a line of CA (cyanoacrylate; superglue) along their proximal edge and simply held to the body tube by hand. Alignment was accomplished (and boy am I using that term loosely) by eyeballing the angle between the fin and body tube.

“Not great, not terrible."
The results look about as good as you’d expect. While not awful, it’s not something I feel like bragging about either. I went a little bit off the deep end and did a fairly detailed analysis of just how not-good the alignment is, but I’m going to include that as a separate section so that you can avoid it if you’d prefer.
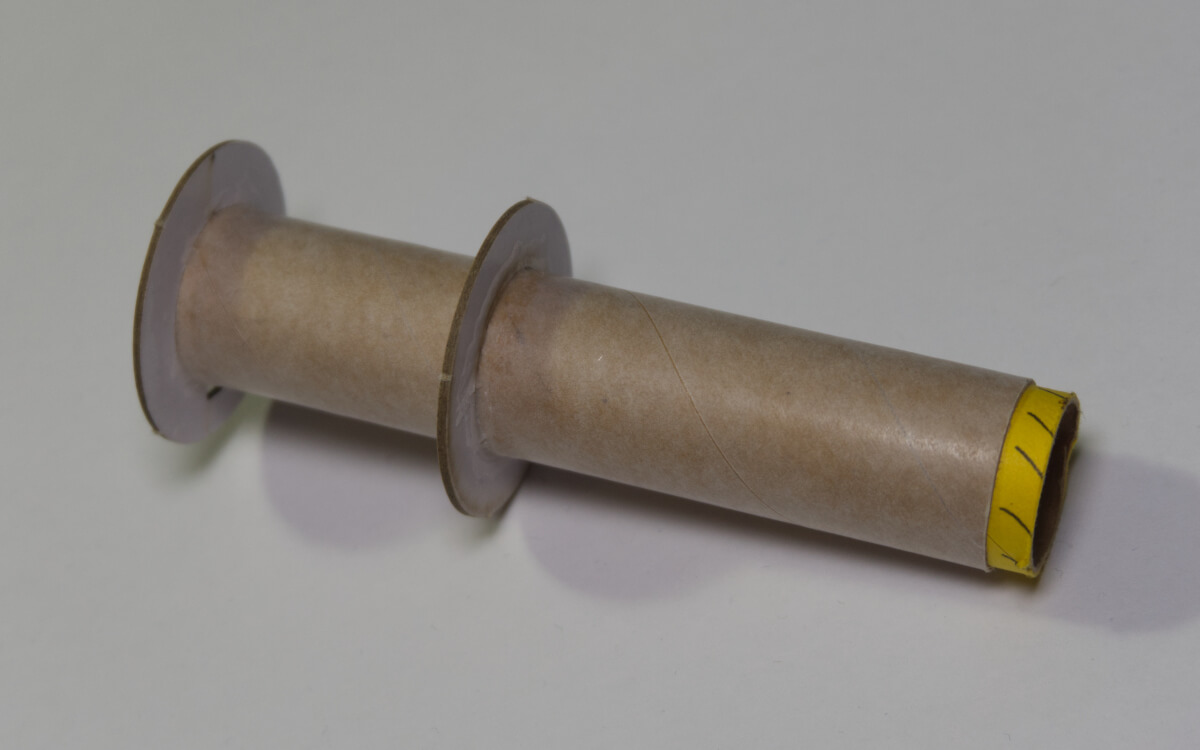
My first attempt to assemble the motor mount ended in disaster. Going by the instructions (the “assemble engine mount” step, for those following along at home), a cardboard ring will be attached to the inside of the motor mount tube such that the motor will press up against it when ignited. This ring, which Estes calls the engine block, will transfer the thrust of the motor into the rest of the rocket, and should consequently be adhered well. In order to make sure that it is placed properly with respect to the long axis of the craft, a temporary spacer is marked with pencil and then used to push the engine block up into the motor mount tube.
The instructions ask that a piece of scrap balsa be used to place a ring of glue around the inside of the motor tube. Then, the engine block will be pushed past and over that ring of glue and into place. Figuring that I needed a good, snug fit, I decided to use Gorilla superglue. It’s important to note that while I did do a test fit of the three parts to check their tolerances and to understand how the temporary spacer should best be used, I never actually used the Gorilla superglue prior to this and had no idea how quickly it would set.
boy gorilla glue sure sets fast
— icannotfly (@sovietmoonbase) June 29, 2022
Sure enough, the five or so seconds from the time the temporary spacer passed over the ring of superglue to the time at which I attempted to remove the spacer were more than enough for the superglue to set. I also made a few attempts to remove the engine block, but all this did was to push it slightly off-axis, guaranteeing that the assembly could not be used.

The first induction into my Rocketry Hall of Shame.
This resulted in an email to Estes, who - to their credit - were very understanding and shipped out replacements for each of the five pieces I had fused together. When then replacements arrived, I used wood glue instead of CA and got considerably better results.
The remainder of construction was straightforward, though I did think that it was odd that there was no retention clip in the motor mount assembly. I double- and triple-checked the instructions, even going so far as to download a fresh copy of the instructions from Estes’ website. All of these agreed that there was indeed no motor clip, so I started asking around on Twitter and found one very friendly user informed me that the motor is friction-fit into the mount. I thought that this was a little odd, but figured I was in no place to argue with the instructions, so I just went with it.
To enhance stability, some clay is included with the kit and is pressed into the tip of the nosecone with a pencil. This step took considerably longer than I thought it would, but constant, dutiful packing of the clay ensured that it does not move, even without adhesive.
After assembly, the rocket was given one coat of flat white primer. I had intended on giving it some color, but ran out of time and grew to like the look of the primer, so white it was, and white it has remained to this day. It was given a very light sanding once the primer had dried.
Simulation
I did not think to build a simulation as I was building the rocket. In fact, I didn’t even think to build one prior to flying the rocket. It was only after I had recovered Frank from the ground and was carrying it back did I stop to wonder how high it went and begin to think that I should have modeled it somehow.

Frank, as seen in OpenRocket 23.09
Building the sim after construction does make things a bit more tricky. Ideally, the mass of each component would be measured prior to assembly and the position of each component should be measured after assembly (but before the assembly of any other components which may prevent or complicate said measurement) in order to ensure that the CG (center of gravity) of the rocket is well understood. Of course, it is possible to get a passably accurate measurement of CG simply by balancing the rocket on a finger, and that is indeed what I had to do here. After the CG is obtained this way, the CG for the whole rocket needs to be overridden in OpenRocket. This makes planning future modifications difficult, as the new CG will not be updated manually. For small modifications, this isn’t so bad, but for things such as lengthening the body tube or adding more fins, the new simulated flight characteristics can start to become wildly inaccurate.
Stability
| Motor | Mass (g) | CP (cm from nose) | CG (cm from nose) | Stability (cal) |
|---|---|---|---|---|
| none | 58.1 | 27.3 * | 18.0 * | 2.76 ** |
| Estes B6-4 | 76.6 | 27.3 * | 22.4 * | 1.45 ** |
| Estes C6-5 | 82.9 | 27.3 * | 23.2 * | 1.22 ** |
** Derived from $\frac{Cp - Cg}{Body Diameter}$
Predictions
| Motor | Apogee (m) | Velocity at Chute Deploy (m/s) | Optimum Deploy Delay (sec) | Max Velocity (m/s) | Max Accel. (m/s2) | Time to Apogee (sec) | Total Flight Time (sec) | Landing Velocity (m/s2) |
|---|---|---|---|---|---|---|---|---|
| B6-4 | 108 | 1.82 | 3.96 | 47.8 | 150 | 4.82 | 31.2 | 4.15 |
| C6-5 | 259 | 5.25 | 5.37 | 81.3 | 162 | 7.11 | 69.7 | 4.04 |
| D13-7 | 487 | 1.52 | 6.86 | 158 | 243 | 8.38 | 117 | 4.51 |
The D13 was added just for fun and I have no intent of flying this thing on a D motor
Estes lists a projected apogee of 206 m on a C6-5, which is just shy of a 20% difference, and can’t just be chalked up to rounding errors. Unfortunately, I didn’t get any video of the launch, and so we can’t used it to verify any other elements of the simulation.
Flights
| Flight | Date and Time | Site | Pad | Variant | Motor | Attempts | Outcome |
|---|---|---|---|---|---|---|---|
| 1 | 2022-08-13 | Lucerne | A1 | Estes B6-4 | 3 | Grounding |
Lessons Learned
Design
- Motor retention is important, namely because a free-flying motor poses an immediate health hazard to those in it’s path, but also because the force used to kick the motor out of the rear of the rocket would be better spent popping the nose cone off and deploying the parachute. It was only by dumb luck that the parachute deployed at all. Friction-fitting has it’s place in model rocketry, but motor retention is not that place.
Construction
- Simply holding fins against the body tube has a significant potential for disastrously bad fin alignment. A much better means of aligning fins to the body tube is needed.
- Learn the pros and cons (or, if this terminology makes sense to you, the indications and contraindications) of different types of adhesives. Not all types are created equal, and simply choosing what you think will be the strongest may produce a result that is significantly different that what you want.
Flight
- Estes igniters seem to be highly unreliable, and there is likely a good reason there are six igniters in a three-pack of motors. There are more reliable igniters on the market, but for much higher prices. For now, it would be best to simply expect a ≥50% failure rate. It may also be worthwhile to investigate making my own igniters.
Changelog
1.0.0 - 2024-02-20
Added
- Initial release